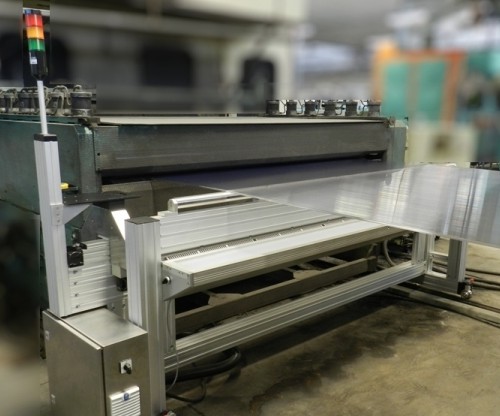
Polycarbonate Multiwall Analyzer
The Polycarbonate Multiwall Analyzer is a fully automatic, in-line thickness inspection system designed specifically for multi-wall (hollow) sheet manufacturers. The system is the first of its kind and the only one capable of measuring wall thickness of all walls on the sheet automatically on the line.
Many multi-wall manufacturers still measure wall thickness manually using a micrometer on a sample taken at the end of the production line. Because of the relatively low production speed, the long production line length and the time needed to take the actual measurements, the micrometer measurement done at any given time represents the condition of the line 10 minutes to 1 hour ago, depending on the line speed. The measurement is also inaccurate as it involves applying the micrometer force manually on the soft plastic material.
Quicker Setups
Cost Savings
The Polycarbonate Multiwall Analyzer allows for manufacturing at a lower tolerance than ever before, as close as possible to the minimum weight requirements while enabling higher quality and even distribution of the material throughout the product. This can save the plant tens of thousands of dollars per year, per line.
Several units have been working for over a year at a leading hollow PC sheet manufacturer and they have improved the plant’s quality, reduced setup times between die changeovers and saved money in scrap and reduced down time.

Automatic scanning system
Line operator toolbox
Clear and useful documentation

Automatic scanning system
Line operator toolbox
Clear and useful documentation
Advantages
Cost savings
Significant savings in raw material, lost production time and scrap.
Quality
Higher overall product quality due to more even material distribution.
Improved yield
Significantly shorter setup and changeover times.
Accuracy
The measurements taken are more accurate than micrometer measurements and non-destructive.